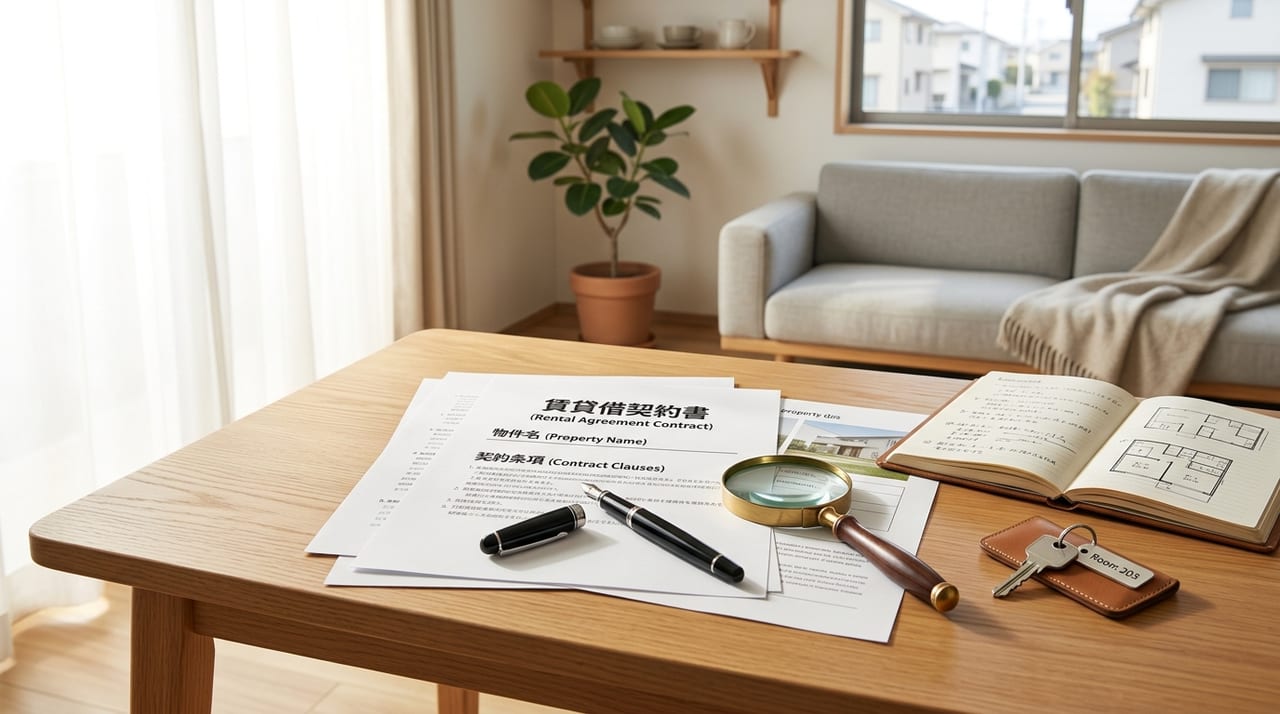
The Complete Guide to Rental Move-Out Inspections | Procedures and Cost Dispute Prevention
A move-out inspection for a rental property is a critical procedure that affects your security deposit refund amount. This guide walks you through every step—from advance preparation to items to check on the day, and how to handle unfair charges. With proper knowledge, you can prevent troubles before they start.
What Is a Move-Out Inspection? Its Purpose and Tenant Rights
A move-out inspection (check-out inspection) is a procedure conducted on the final day of your rental agreement to confirm the condition of your room with the property management company or owner. During this inspection, both parties assess any damage, dirt, or equipment issues, and determine the scope of restoration to original condition costs and which party bears the repair expenses. It is essentially an official "documentation" session.
By law, tenant participation in a move-out inspection is not a legal obligation. However, if you do not attend, the management company may unilaterally document any damage on record, which greatly increases the risk of unfavorable judgments being made against you. We strongly recommend attending whenever possible. If your schedule does not allow, you may also appoint a representative (family member or friend).
Additionally, when you are presented with repair cost estimates or documents for signature during the inspection, you are not obligated to sign or agree on the spot. You have the right to say, "I will review this and get back to you." You can take time to review the documents.
Preparations to Complete Before the Inspection Day
To avoid rushing on inspection day, complete the following preparations by the day before.
1. Thorough Cleaning
The "Guidelines on Restoration to Original Condition and Related Disputes" published by Japan's Ministry of Land, Infrastructure, Transport and Tourism (MLIT) states that dirt and stains resulting from normal living (normal wear and tear) are not the tenant's responsibility. However, dirt that could have been prevented through regular cleaning may be charged to the tenant. Pay special attention to cleaning water areas (kitchen, bathroom, toilet, sink) for water stains and mold, exhaust fan grease buildup, and window glass.
2. Complete Removal of All Belongings
Remove all furniture, boxes, and trash, and leave the room completely empty. Any leftover items may result in a "removal of leftover items" fee.
3. Photograph and Video Documentation
Photograph and video record the entire room before the inspection. Documenting the condition of walls, floors, ceilings, and equipment will help counter any future claims from the management company that certain damage did not exist. Use a smartphone camera that records the date and time, and save the files with date stamps.
4. Keep Your Move-In Documents Handy
Prepare your rental agreement, important transaction information document, and move-in checklist (which records any pre-existing damage or dirt) from when you moved in. If you have a record of damage that existed before you moved in, you may be able to avoid being charged for it.
Move-Out Inspection Checklist and How to Proceed
During the inspection, the management company representative will walk through the room with you. The main items to check are as follows.
Walls and Ceilings
•Wall covering (wallpaper) damage, graffiti, or tobacco stains
•Nail holes and screw holes—their number and size (small pushpin holes are usually considered normal wear)
•Signs of mold
Floors
•Flooring scratches, dents, or discoloration
•Carpet stains or burn marks
•Tatami mat damage or discoloration
Water Areas
•Kitchen grease buildup, sink damage
•Bathroom mold, caulk discoloration
•Toilet stains, toilet seat damage
Equipment
•Air conditioner and exhaust fan dirt, operational status
•Light fixture operation
•Window, door, and lock function
•Intercom and water heater function
Key Points During the Inspection
Review the inspection checklist as the management company representative fills it out. Speak up immediately if you see anything you did not cause. State that the damage existed before move-in and cross-reference it with your move-in checklist.
If Asked to Sign Documents—Proper Document Procedures
After the inspection, the management company may ask you to sign a "move-out confirmation form" or "repair cost confirmation sheet." This signature is extremely important. Once you sign, you are essentially agreeing to the contents.
Before signing, confirm the following:
•Whether the listed repair items are actually damage you caused through negligence
•Whether the costs are itemized specifically (be cautious if it just says "to be billed later")
•Whether the basis for the cost allocation is clearly stated
If you do not agree with the contents, you do not need to sign on the spot. You may say, "I would like to review the contents before signing. Please provide me with a copy of the document." You have the right to take it home and review it carefully. If you are pressured to sign on the spot by the representative, contacting your local consumer affairs center is also an option.
Negotiation Tactics to Prevent Unfair Charges and How to Handle Later Bills
Typical Examples of Unfair Charges
•Charging the tenant the full cost of complete wallpaper or tatami mat replacement due to normal wear and tear
•Billing the tenant for repairs of damage that existed before move-in
•Professional contractor charges that are significantly above market rates
•Charging the full cost of "house cleaning" without clear contractual basis
Negotiation Tips
The MLIT guidelines provide detailed standards for cost allocation in restoration to original condition. Calmly stating, "Based on these guidelines, isn't this repair within the range of normal wear and tear?" can be effective. Keep emotions in check and negotiate based on evidence.
If You Receive a Bill After Move-Out
If you receive an unexpected high bill after moving out, follow these steps:
Request a detailed breakdown of the charges in writing
Compare it with photographs and videos taken during the inspection
If you cannot agree, consult your prefectural Real Estate Transaction Business Association or Consumer Affairs Center (nationwide number: 188)
You may also use the small claims court system (for monetary claims up to ¥600,000)
Key Returning and Post-Move-Out Procedures to Confirm
How to Return Keys
It is standard to return all keys on the day of the inspection, including duplicate keys (front door, mailbox, bicycle parking, etc.). Confirm the types and number of keys returned, and obtain a receipt or confirmation document.
Post-Move-Out Tasks Not to Forget
After you have completed your move, promptly complete the following:
•Moving Registration: Submit a change of address notice to your municipal office or through the My Number Portal
•Utilities Disconnection: Contact electric, gas, and water companies by the move-out date to arrange final billing
•Postal Forwarding: Submit a forwarding notice at the post office (mail can be forwarded for one year)
•NHK Reception Fee Address Change
•Financial Institution and Service Address Updates
•Security Deposit Refund Confirmation: Within 1–2 months after move-out, confirm your security deposit settlement statement and refund amount
If the security deposit refund is delayed or there are clearly unreasonable deductions, sending a certified mail request for return is an effective measure.
A move-out inspection can have very different outcomes depending on whether you approach it with proper knowledge. Advance preparation and calm, composed behavior on the day are your strongest defense against unnecessary expenses.
Security deposit disputes at move-out are among the most common rental issues. This guide explains the scope of tenant liability for restoration to original condition, how to identify improper charges by management companies, and the concrete steps for filing objections.